Wednesday, March 25, 2020

Sale-A-Bration 3rd Release!

The Sale-A-Bration Third Release

Sale-A-Bration Third Release products are now available for you to earn! These new additional offerings include select, current Stampin’ Up! products, newly available to earn for Sale-A-Bration.

If you enjoy having Designer Series Paper on hand, this is the release for you.

Act fast, though, because orders must be closed by March 31!


Get FREE gifts when you order online with me!


Sale-A-Bration Third Release

Sale-A-Bration Third Releases Sale-A-Bration Third Releases Sale-A-Bration Third Releases Sale-A-Bration Third Releases Designer Series Paper Sale-A-Bration Third Releases Sale-A-Bration Third Releases Sale-A-Bration Third Releases Sale-A-Bration Third Releases

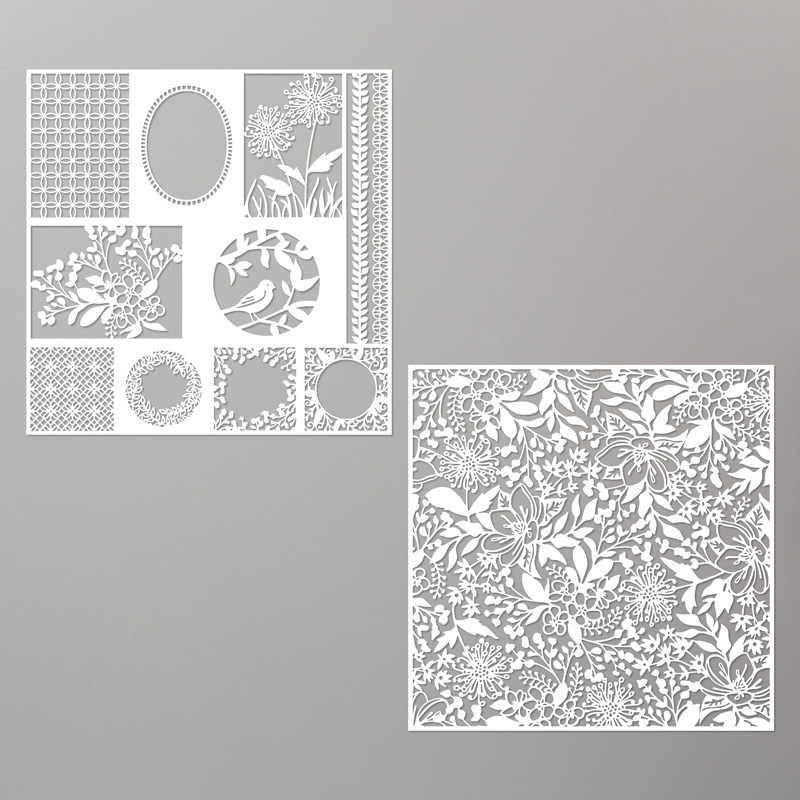
SHIMMER DETAILED LASER-CUT SPECIALTY PAPER

Shimmer Detailed Laser-Cut Specialty Paper includes delicately detailed laser-cut sheets with a touch of shimmer. Vanilla on one side, white on the other side. One design is a 12" x 12" (30.5 x 30.5 cm) pattern; the other design has distinct patterns to cut out and use on card fronts.

* 6 sheets: 3 each of 2 designs
* 12" x 12" (30.5 x 30.5 cm)
* Acid free
* Lignin free

Coordinating Colors: Very Vanilla, white


The Sale-A-Bration Third Release

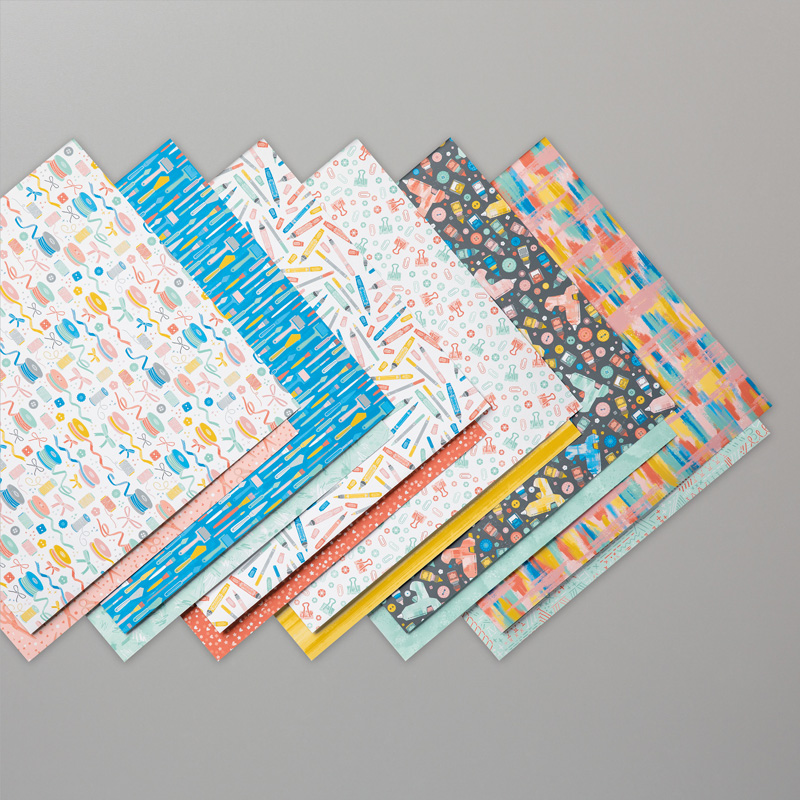
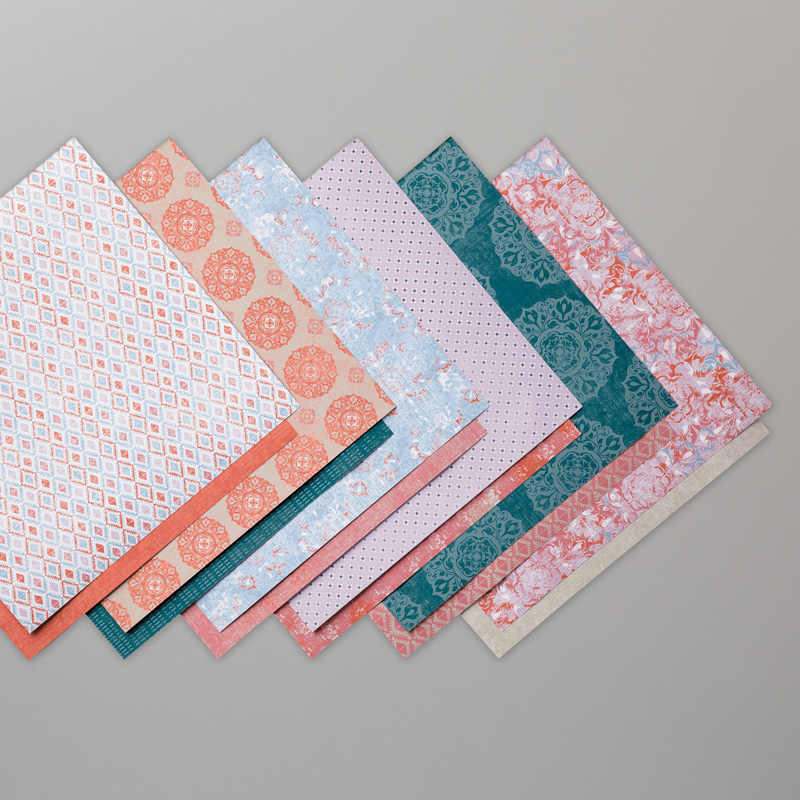
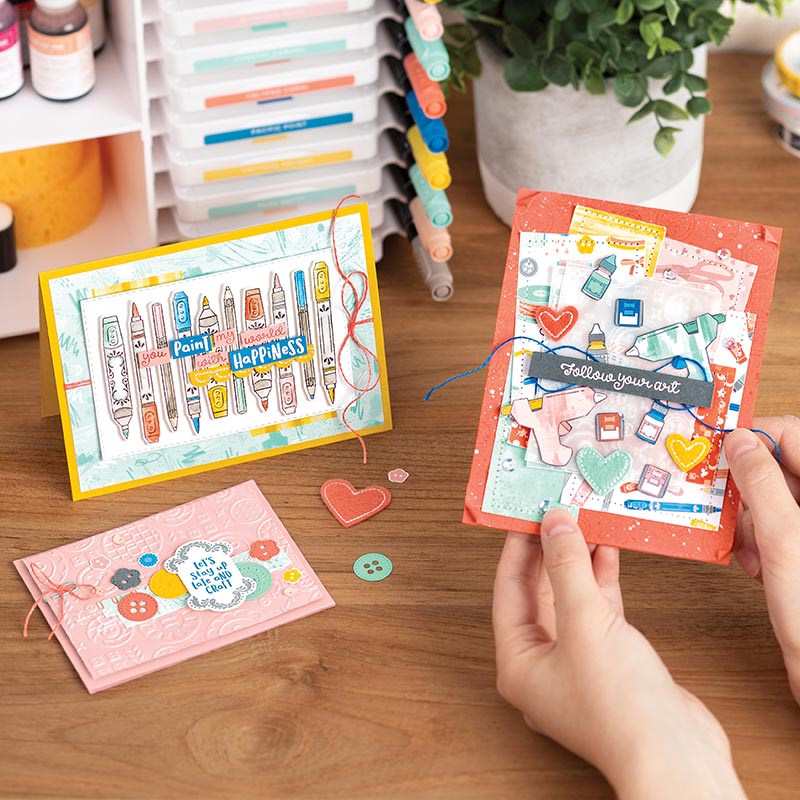
Follow Your Art Designer Series Paper celebrates all kinds of crafting. Craft to your heart’s delight with its fun, creative designs.

* 12 sheets of patterned paper: 2 each of 6 double-sided designs
* 12" x 12" (30.5 x 30.5 cm)
* Acid free
* Lignin free

Coordinating colours: Basic Gray, Blushing Bride, Calypso Coral, Coastal Cabana, Crushed Curry, Pacific Point, Whisper White

Sunday, March 22, 2020

NEW Online Technique Club!

I've sadly had to cancel my in-person classes for the time being but I'm excited to introduce my Online Technique Club! If you live in Canada, please fill out the Contact Form on the right if you're interested in joining!


Monday, February 10, 2020

Beeing With You

This card uses a combination of products! I actually bought the Wiggle Worm Stamp Set only because of the sentiment used in this card!


  1. Card base is Crushed Curry, 8 1/2" x 5 1/2", scored at 4 1/4". Fold and burnish with Bone Folder. Layer a piece of Basic Black cardstock, 5 1/4" x 4" and adhere. Cut a piece of Botanical Prints DSP to 5 1/8" x 2 3/8" and a black & white piece to 5 1/8" x 1 3/8". Adhere both pieces as shown.
  2. Die cut the long Black Foil piece with the Dressed Up Dies and glue to the card as shown. Die cut the Painted Labels Die also out of Black Foil. Punch a Crushed Curry Circle with the 1 3/4" Circle Punch and adhere under the Black Foil label. Use a Mini Glue Dot to glue a bee from Botanical Prints to the label.
  3. Stamp the sentiment from Wiggle Worm in Memento Tuxedo Black on a scrap of Whisper White cardstock. Trim and banner the right side with snips. Mount the label and sentiment with Stampin' Dimensionals.

CLICK ON "Print Recipe" BELOW FOR YOUR FREE PDF TUTORIAL FOR THIS CARD!


Product List

Sunday, February 9, 2020

Tropical Sunset

Doesn't this make you want to go to Hawaii? I had done a similar card with some now retired products but wanted to give it a go with some current products!


Card base is Gorgeous Grape, 8 1/2" x 5 1/2", scored at 4 1/4". First layer is Gorgeous Grape, 5 1/4" x 4", embossed with Coastal Weave 3D Embossing Folder and adhered to card base. Champagne Foil piece is 5 1/2" x 1/2", adhered 1" above bottom of card.

Die cut a piece of glossy photo paper with the Stitched Rectangle Dies, the one that's about 3 1/2" x 2 1/4". Drag the edge of the Mango Melody ink pad across the bottom half of the photo paper. Do the same with Crushed Curry. Drag Poppy Parade over the top half, overlapping the bottom half a little. Drag Gorgeous Grape across the top Drag Memento Tuxedo Black across the bottom corner to create the land. Stamp the palm trees in Memento Tuxedo Black and darken them with a Black Stampin' Write Marker. Die cut a Poppy Parade piece with the Stitched Rectangle Die that's 4" x 2 5/8" and adhere it under the photo paper piece. Adhere to the card on the left side as shown.

Die cut the shape from the Painted Labels Dies. Stamp the sentiment from Peaceful Moments in Versamark ink. Cover it with White Emboss Powder and heat it with the Heat Tool. Adhere to the card with Stampin' Dimensionals.


CLICK ON "Print Recipe" BELOW FOR YOUR FREE PDF TUTORIAL FOR THIS CARD!


Product List